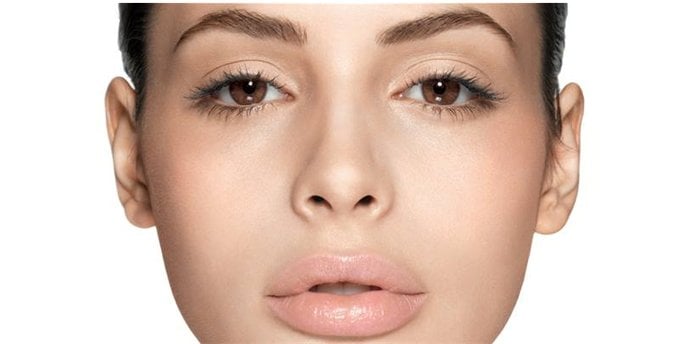
How to Apply Foundation: Prevent Cakey, Patchy Makeup

Whether you're a makeup junkie or a budding artist, you probably already know that getting your foundation right is key. A smooth, flawless base can make or break your look. But here’s the thing: learning how to apply foundation is not as effortless as it seems. It’s easy to end up with a thick, masking base when you least expect it.
Thankfully, there are a few dos and don’ts that help you get that natural finish every time without any of the dreaded cakiness.
Common Foundation Mistakes You’re Making (and Not Realising!)
It’s easy to fall into habits that do us more harm than good, and the same holds for makeup. Here are your top 5 unintentional faux pas when it comes to learning how to apply foundation:
1. Skipping the Primer - Priming does more than we credit it for. It helps smooth your skin’s texture and allows your foundation to settle right in. Skipping this step could cause your foundation to settle into fine lines and wrinkles.
2. Wrong Formula - If you have oily skin but use a heavy, hydrating foundation, it’s a recipe for disaster. Similarly, using powder foundations for dry or normal skin can lead to patchy makeup.
3. Using Too Much Powder - We all love a matte finish, but too much powder can lead to a flaky, dry texture. This is why it’s best to opt for a matte-finish liquid foundation, especially if you’re a beginner.
4. Incorrect Application - Brushing your foundation on with too much pressure or in the wrong motion can leave you with uneven, cakey results.
5. Not blending enough - Blending the foundation incorrectly can make your makeup base look lumpy; this is why carrying your brushes and using the right application techniques is vital.
Why does your Foundation look Cakey?
Using too much product or application mistakes are the major reasons why your foundation looks cakey. When you keep piling layers of makeup without blending, it looks patchy, unnatural, and messy. This is why following the primer - foundation - concealer order is very important for a chic look. Learning to build and blend your makeup is vital for getting that perfect porcelain look every time.
Prepping Your Skin for Flawless Foundation
Learning how to apply make-up foundation starts well before makeup makes its first appearance. So, let’s talk about prep.
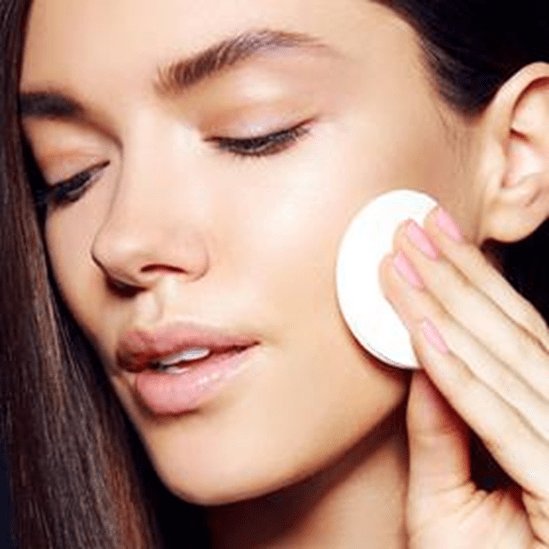
1. Exfoliation & Hydration
Dry flaking skin can be very visible, even through makeup. Your foundation may cling to these dry patches, making your makeup look textured and uneven. This is why it’s crucial to exfoliate your skin twice a week to get rid of dead skin cells. You can also follow the exfoliator with a lightweight moisturiser that nourishes your skin before makeup.
2. Using the Right Primer
A primer is more than just a step in the makeup process—it’s the holy grail. Whether you have oily, dry, or combination skin, there’s a primer out there to match your needs. Hydrating primers are great for dry skin, while mattifying primers help control oil for a long-lasting finish. Make sure to apply the primer generously all over your face and neck for the best results.
3. Choosing the Right Foundation for Your Skin Type
This is a big one! Choosing a foundation that suits your skin type is essential to get the right kind of finish. If you have oily skin, opt for a long-lasting matte formula that controls shine. For dry skin, go for a hydrating foundation that won’t cling to dry patches. Also, remember: buildable foundations tend to feel more comfortable and are less prone to cakiness.
Pro Tip: If you’re new to the world of makeup, liquid foundations are your best bet. These tend to blend more seamlessly and can give your skin a natural look.
How to use Foundation Tools
Now that your skin is prepped, let’s get to the fun part—application. Understanding how to apply foundation correctly can make a world of difference when it comes to achieving that airbrushed, flawless finish. So experiment with various techniques and find one that suits you the best.
• Brushes – While various types of makeup brushes are great for fuller coverage, using the wrong tools or pressing too hard can leave streaks or an uneven texture. A flat foundation brush works best when you want more coverage.
• Sponges (Beauty Blenders) – Sponges are your best friend for an airbrushed finish. A damp makeup sponge helps blend the foundation seamlessly into your skin, leaving no excess product behind. The key is to bounce, not rub, the sponge on your face.
• Fingers – Your fingers can be an effective tool for applying foundation in a pinch, especially if you’re using a creamy formula. The warmth of your fingers helps the product melt into the skin. Just make sure to wash your hands beforehand!
Foundation Blending Techniques
Now that you have the right formulas and the right tools, it’s time to break down blending. Blending is more than shooting arrows in the dark. Once you’ve nailed down the right application technique, getting that airbrushed look is a breeze.
Here’s how to apply foundation on the face using some common blending techniques:
1. Dot and Blend Technique
This technique is all about applying small dots of foundation evenly across your face—on your forehead, cheeks, nose, chin, and neck — before blending it out evenly. It helps you get an even-looking coverage all across your face. You can use a brush, sponge, or your fingers to blend outward from the center of your face. Blend it with a light hand, creating small tapping motions.
Why It Works:
By dotting the foundation first, you avoid applying too much product in one area, making blending easier. This technique helps create a more natural, even base with just the right amount of coverage.
2. Stippling Method
Stippling is an art form where one creates a solid image by using hundreds of small dots. The same can be done for your foundation using a stippling brush. This brush has densely packed bristles that don’t leave streaks or marks. This technique is perfect for creating a soft, diffused effect. Make sure you dip the brush lightly into the foundation and gently tap or bounce it onto your skin in circular motions.
Why It Works:
Stippling helps to evenly distribute the foundation without pressing it too deeply into the skin, making it perfect for achieving a light, airbrushed finish. It’s especially great for textured or acne-prone skin as it prevents product buildup in fine lines and pores.
3. Buffing Technique
Buffing involves using a dense, round brush to blend foundation into the skin in circular motions. This technique is great for creating a full-coverage look while maintaining a natural, well-blended finish. Simply use a flat-top brush and blend in circular motions along your skin.
Why It Works:
Buffing helps your foundation blend seamlessly into the skin, reducing the appearance of pores and creating a smooth, polished finish. If you’re learning how to apply foundation that’s full coverage, this is your technique.
How to Prevent Cakiness: Tips and Tricks
It's time to put your knowledge into action. While you know nearly everything about how to apply foundation, these last-minute tips can’t hurt.
• Thin layers are your best bet. Apply foundation in very light layers and go on to build coverage only where needed.
• Learn how to determine your undertone before finding your foundation shade to prevent that dreaded clown face.
• Use lightweight formulas that don’t weigh down your skin or make it appear dull.
• You can use damp brushes or beauty blenders to get a seamless finish without any lines.
• Don’t use setting powder all over if you have dry skin. You can only use it on the T-zone to prevent heavy layering.
• Less is more when it comes to foundation, finishing powder, and concealer. Start with only a few drops of the product instead of applying it all at once.
• A lightweight setting spray helps you melt makeup into the skin and removes excess flakiness.
How to apply Makeup Foundation - Quick Recap
To summarize, getting a flawless foundation is all about prepping your skin, using the right products, and blending the base like a pro! Here’s a quick recap of the steps to prevent cakey makeup:
1. Exfoliate and hydrate your skin.
2. Use a primer suited to your skin type, be it dewy or matte.
3. Pick the right foundation formula for your skin type.
4. Select a blending tool and technique that suits you the best.
5. Blend your foundation with circular motions, building lightly only where necessary.
Best products to try:
Maybelline Fit Me Matte + Poreless Foundation
This super blendable liquid foundation gives you a poreless matte finish while controlling oiliness.
Maybelline Super Stay Lumi Matte Foundation
Lightweight and buildable, this illuminating foundation gives you medium-to-full coverage without any heaviness.
Maybelline Superstay Foundation
This full-coverage foundation gives you a stunning airbrushed look without leaving any unflattering brush strokes or patches. It’s the perfect choice for creating full-face makeup.
If foundations still sound a bit intimidating, you can try a subtle makeup look with this skin tint.
Wrapping up!
Now that you know how to apply foundation, it’s time to create your flawless full face! Strike a balance between over-the-top and underdone with the right face makeup products and face makeup tips. Worried about getting a tone match? Try Maybelline’s Foundation Finder tool to try on your precise shade online from the comfort of your home.
Your base makeup is the footing for the rest of your glam. Once you get it right, acing eye makeup and lip makeup is a breeze. Put together a whole look with Maybelline’s Virtual Try-On tool and become a glam pro in no time!